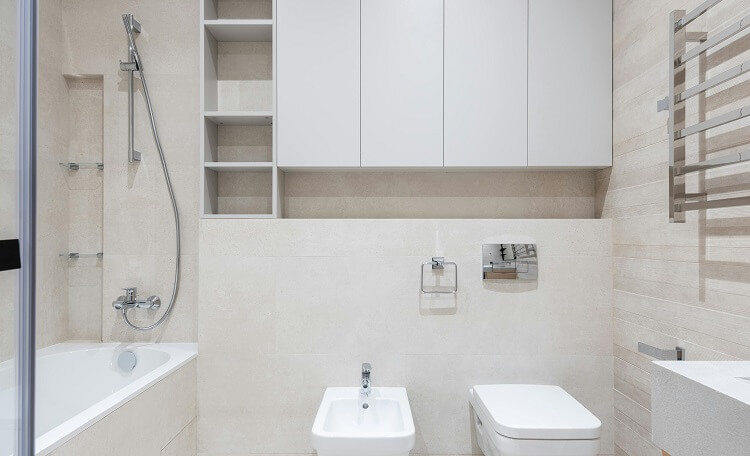
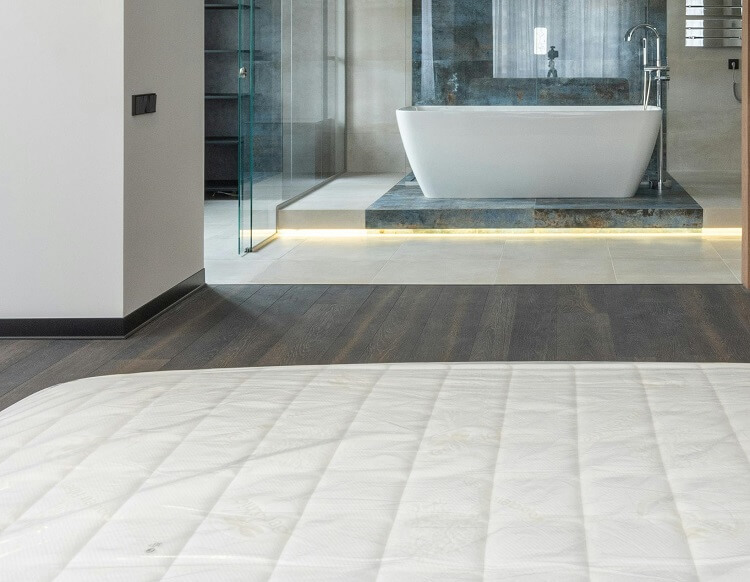
Experiencing unwanted noise filtering up from your bathroom? You’re not alone. Hard surfaces and echoing pipes often make bathrooms noisy spaces.
We’ll explore the reasons behind bathroom noise, the numerous benefits of soundproofing, and a detailed step-by-step process using proven materials and techniques. Whether you’re renovating or simply looking for quick fixes, you’ll find effective strategies to create a more tranquil bathroom environment.
Why Are Bathroom Floors So Noisy?
Bathrooms are notorious for noise issues due to their construction. Hard surfaces like tile and porcelain reflect sound waves rather than absorbing them.
This creates echoes and amplifies noises. Furthermore, gaps in subfloors, around pipes, and between tiles allow sound to travel freely between floors. Understanding the types of noise is crucial for effective soundproofing:
- Airborne Noise: These are sounds that travel through the air, such as conversations, music, or running water.
They can easily pass through gaps and cracks.
- Impact Noise: This type of noise results from vibrations and impacts, like footsteps, dropped objects, or the rumbling of plumbing. These vibrations travel directly through the floor structure.
Common bathroom noise culprits include:
- Footsteps on hard flooring
- Water running through pipes
- Toilet flushes
- Shower noise
- Impact from dropped items
Benefits of a Soundproofed Bathroom Floor
Soundproofing your bathroom floor isn’t just about reducing noise; it significantly improves your quality of life:
- Enhanced Privacy: Contain bathroom noises and enjoy increased peace of mind knowing conversations and other sounds are less audible.
- Improved Comfort: A quieter bathroom creates a more relaxing and spa-like atmosphere, enhancing your overall well-being.
- Increased Property Value: Soundproofing is a desirable feature for potential homebuyers, demonstrating attention to detail and enhancing the perceived value of your property.
- Reduced Stress: Constant noise can be a source of stress and irritation. A soundproofed bathroom promotes a calmer, more peaceful home environment.
Tools and Materials
Gather these essential tools and materials before you begin:
Tools:
- Measuring tape
- Utility knife
- Roller or applicator
- Screwdriver or drill (if needed for subfloor access)
- Safety glasses and gloves
Materials:
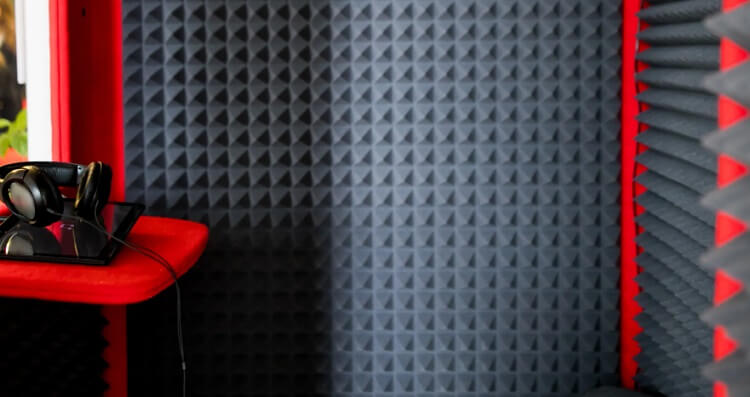
- Acoustic Underlayment: For impact noise reduction (e.g., high-density rubber underlayment or cork).
Consider Mass Loaded Vinyl (MLV) for airborne noise.
- Acoustic Sealant: For sealing gaps and cracks (e.g., Green Glue Noiseproofing Compound).
- Soundproof Mats or Membranes: For added impact and airborne noise reduction.
- Resilient Flooring: Choose flooring known for its sound-dampening qualities (e.g., luxury vinyl tile, cork flooring, or carpet).
- Adhesive or Double-Sided Tape: Ensure compatibility with your chosen materials.
Step-by-Step Soundproofing Guide
Step 1: Floor Assessment
Thoroughly inspect your bathroom floor. Identify any cracks, gaps, or loose tiles that contribute to noise transmission. Determine your subfloor type (wood, concrete) as this influences material choices.
Step 2: Surface Preparation
Clean the floor meticulously.
Remove debris, dirt, and old adhesive. Repair any cracks in the subfloor or grout between tiles to ensure a smooth, level surface for optimal adhesion of soundproofing materials.
Step 3: Apply Acoustic Underlayment
Roll out the acoustic underlayment, ensuring complete coverage of the floor. Overlap seams by a few inches and seal them with acoustic sealant or appropriate tape.
This layer is critical for absorbing impact noise.
Step 4: Seal Gaps and Cracks
Apply acoustic sealant to all gaps and cracks around the perimeter of the room, around pipes, and any other potential sound leakage points. This prevents flanking noise.
Step 5: Install Soundproof Mats (Optional)
If using soundproof mats for added noise reduction, lay them over the underlayment, ensuring tight seams. These are especially beneficial in high-traffic areas.
Step 6: Install Resilient Flooring
Install your chosen resilient flooring according to the manufacturer’s instructions.
Ensure proper installation to avoid future issues and maintain the effectiveness of the soundproofing.
Common Mistakes to Avoid
- Inadequate Surface Preparation: Dirt and debris prevent proper adhesion, compromising the effectiveness of your soundproofing.
- Ignoring Gaps and Cracks: Even small openings can significantly impact noise transmission. Thorough sealing is crucial.
- Using Incorrect Materials: Select materials specifically designed for soundproofing and ensure they are suitable for bathroom environments (moisture-resistant).
FAQ
What is the quickest way to partially soundproof a bathroom floor?
The easiest approach is laying down thick rugs or soundproof mats directly over the existing flooring. While not as effective as a full soundproofing project, this can provide a noticeable reduction in noise, particularly impact noise.
Can I soundproof under existing tile without removing it?
While not ideal, you can add a layer of sound-dampening mats over the tiles before installing new flooring.
However, this raises the floor height and might require adjustments to doors and fixtures.
What’s the typical cost for DIY bathroom floor soundproofing?
Costs vary greatly based on materials and bathroom size. Basic DIY solutions can range from $2 to $5 per square foot, while more advanced methods using premium materials can cost $5 to $10+ per square foot.
Is soundproofing compatible with underfloor heating?
Yes, but it’s essential to choose soundproofing materials compatible with underfloor heating systems. Consult the manufacturers of both products to ensure compatibility.
Conclusion
Soundproofing your bathroom floor is a worthwhile investment that significantly enhances comfort and privacy.
By following this comprehensive guide and using quality materials, you can effectively minimize noise transmission and create a more peaceful home environment. Remember to address both airborne and impact noise for optimal results. While simple solutions can provide some improvement, a multi-layered approach offers the most effective long-term soundproofing.
For complex situations or specialized needs, consider consulting a qualified soundproofing professional.