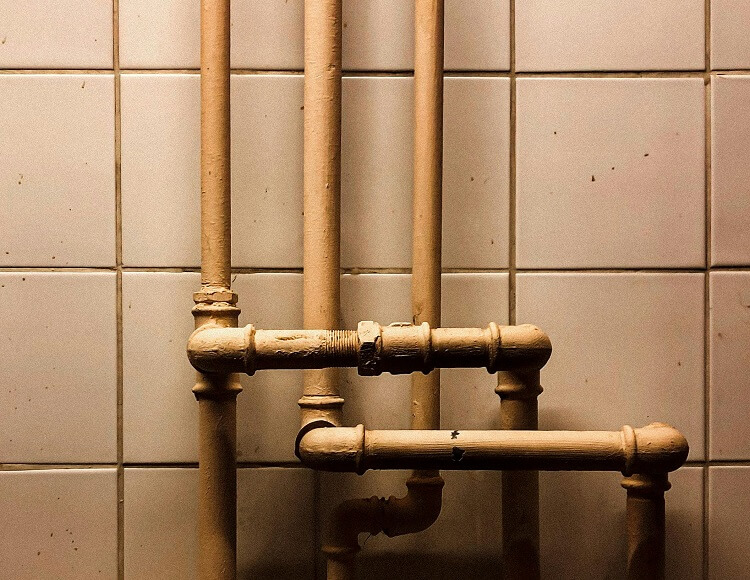
Annoying bathroom pipe noises disrupting your peace? Whether it’s the hammering clang of water pipes or the gurgling drain, unwanted sounds from your bathroom can disrupt the tranquility of your home. This comprehensive guide provides practical steps and expert advice on how to effectively soundproof noisy bathroom pipes and reclaim a quiet sanctuary.
Why Are Bathroom Pipes So Noisy?
Understanding the source of the noise is the first step towards effective soundproofing. Several factors can contribute to noisy bathroom pipes:
Common Causes of Pipe Noise:
- Water Hammer: This loud banging sound occurs when water flow abruptly stops, often due to quickly closing valves or high water pressure. The sudden change in momentum causes the pipes to vibrate and create a hammering noise.
- Vibrations: Loose or poorly supported pipes can vibrate against surrounding structures (walls, joists, etc.) as water flows through them, generating a humming or buzzing sound. Different pipe materials, like copper and PVC, transmit vibrations differently.
- Gurgling: Air trapped in the plumbing system can create bubbling or gurgling noises, particularly noticeable during draining.
This can indicate venting issues or blockages in the drain line.
- Expansion and Contraction: Temperature changes cause pipes to expand and contract, potentially leading to creaking or clicking sounds as they rub against mounting brackets or other materials.
Pinpointing the specific type of noise will help you choose the most effective soundproofing solution.
Benefits of Soundproofing Bathroom Pipes
Soundproofing your bathroom pipes offers several significant advantages:
Enhanced Privacy
Soundproofing ensures that private bathroom activities, like showering or flushing the toilet, remain private by containing the sounds within the bathroom and preventing them from traveling to other areas of the house.
Increased Comfort
A quieter bathroom contributes to a more relaxing and enjoyable experience. Imagine a peaceful soak in the tub without the distracting sounds of rushing water or clanging pipes.
Improved Resale Value
Soundproofing is a desirable feature for potential homebuyers. It demonstrates a commitment to quality and provides a more comfortable living environment, adding value to your property.
Tools and Materials Needed
Gathering the right tools and materials is essential for a successful soundproofing project.
Here’s what you’ll need to soundproof bathroom pipes:
Tools:
- Measuring Tape
- Pipe Insulation Cutter or Utility Knife
- Screwdriver or Wrench
Materials:
- Acoustic Insulation Wraps or Foam (Closed-cell foam is recommended for its moisture resistance)
- Mass-Loaded Vinyl (MLV) – A dense material that effectively blocks sound transmission
- Acoustic Sealant (Choose a water-resistant sealant specifically designed for plumbing applications)
- Pipe Clamps or Straps (Use heavy-duty clamps for better vibration control)
- Resilient Soundproof Tape
Step-by-Step Guide to Soundproof Bathroom Pipes
Step 1: Inspect and Identify Noise Sources
Carefully inspect your bathroom plumbing while running water. Listen for the location and type of noise – banging, vibrating, gurgling, etc. Identify loose pipes, areas where pipes contact other surfaces, and the type of pipe material (copper, PVC, cast iron).
Step 2: Secure Loose Pipes
Tighten any loose pipe fittings and use pipe clamps or straps to secure pipes firmly to wall studs or joists.
Ensure clamps are spaced appropriately (every 4-6 feet) for optimal support. For vibration damping, consider using specialized pipe hangers with rubber inserts.
Step 3: Wrap Pipes with Acoustic Insulation
Cut the acoustic insulation to the correct length and snugly wrap it around the noisy pipes. Secure the insulation with soundproof tape or adhesive.
For maximum effectiveness, consider using a thicker insulation or double-wrapping the pipes. Closed-cell foam is ideal for bathroom environments due to its moisture resistance.
Step 4: Add Mass-Loaded Vinyl (MLV)
For particularly noisy pipes or those exposed in unfinished areas, apply MLV over the insulation. Wrap it tightly and secure it with resilient soundproof tape or clamps.
MLV adds an extra layer of sound blocking, significantly reducing noise transmission.
Step 5: Seal Gaps and Cracks
Seal any gaps or cracks where pipes penetrate walls or floors using acoustic sealant. This prevents sound leakage and enhances the effectiveness of your soundproofing efforts. Pay close attention to areas around pipe penetrations and ensure a complete seal.
Step 6: Address Water Hammer and Other Issues
If water hammer is a problem, consider installing water hammer arrestors.
These devices absorb the shock of sudden pressure changes, eliminating the banging noise. For gurgling drains, check for venting issues or blockages in the drain line. Consult a plumber if necessary.
Step 7: Test the Results
Run water and listen carefully for any remaining noise.
If noise persists, re-inspect for missed gaps, loose fittings, or areas needing additional insulation.
Common Mistakes to Avoid
- Using Improper Materials: Using standard insulation instead of closed-cell foam in damp environments can lead to moisture problems and reduced effectiveness. Ensure all materials are suitable for plumbing applications.
- Ignoring Loose Fittings: Loose pipes are a major source of noise. Securely fastening pipes is a crucial first step before applying any soundproofing materials.
- Neglecting Gap Sealing: Even small gaps can compromise your soundproofing efforts.
Thoroughly seal all cracks and openings where pipes pass through walls or floors.
FAQ
How do I soundproof bathroom pipes quickly?
Wrapping pipes with foam insulation and securing loose fittings are quick, initial steps. For a more comprehensive solution, consider adding MLV.
Can I soundproof pipes inside walls?
Yes, applying MLV or specialized acoustic panels to the wall surface and sealing gaps where pipes enter/exit can help. However, accessing pipes within walls might require professional assistance.
What materials work best for soundproofing pipes?
Closed-cell foam insulation and MLV offer excellent sound absorption and blocking.
Specialized pipe hangers with rubber inserts further reduce vibration transmission.
Is it expensive to soundproof bathroom pipes?
The cost varies depending on the materials and the extent of the project, typically ranging from $50 to $300 for DIY solutions. Professional installation will increase the cost.
Conclusion
Soundproofing your bathroom pipes is a manageable project that significantly improves the comfort and privacy of your home. By understanding the causes of pipe noise and following the steps outlined in this guide, you can create a quieter, more relaxing bathroom environment.
From simple fixes like securing loose pipes to more advanced solutions like applying mass-loaded vinyl, there are effective strategies for every budget and skill level. Reclaim the tranquility of your home by tackling those noisy pipes today!

